
1. Keep materials and supplies clean and organized. They’ll be in good shape when you’re ready to go plus you’ll be able to easily find just what you want. Knowing what you have means that you’ll be able to use it! Taking care of brushes will extend their life. They should be cleaned well and dried flat; never leave them standing in water or solvents.
2. Consider alternate materials. Making a mark with a charred stick on a stone can cost nothing; it expands creative boundaries and connects us to our ancestor artists. Besides stones, consider more mainstream surfaces such as paper bags, Tyvek envelopes, plastics, wood, or fabrics. How about chalk, ball point pens, crayons, or berry juice for mark-making? Can you paint with a finger, a feather, or with yarn? Investigate inexpensive supplies from children’s stores and office supply aisles. Does it have to be archival? Let your digital camera or scanner archive the image for you. I love using inexpensive mechanical pencils for sketching. Use the backs of your material, too, if it’s thick enough.
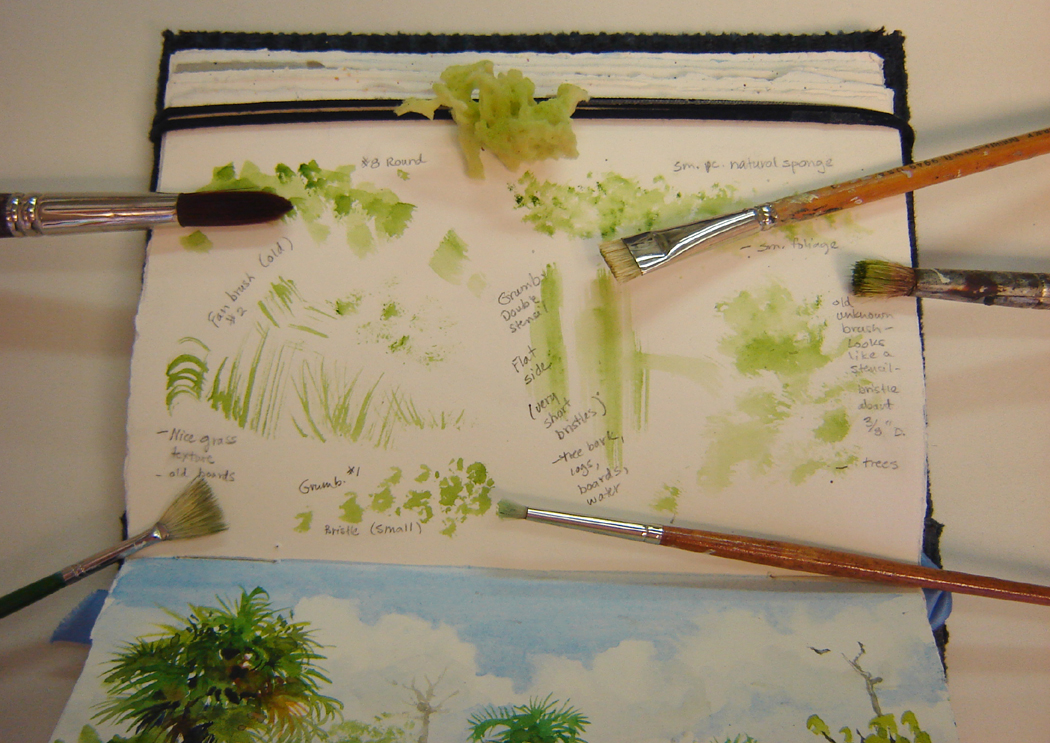
3. Explore materials you already have but seldom use. Start by creating some test swatches on different surfaces. Try out those brushes and sponges you collected but never find yourself choosing. If your materials aren’t acceptable for creating art, what about using them in other creative ways? Can you use that odd shade of orange for stamping, printing, to decorate end papers, or as a base for something else? Can you mix it with another color to make it more viable?
4. Trade with another artist. We all have something we bought at one time that we've used seldom or never. Swap supplies with someone else!
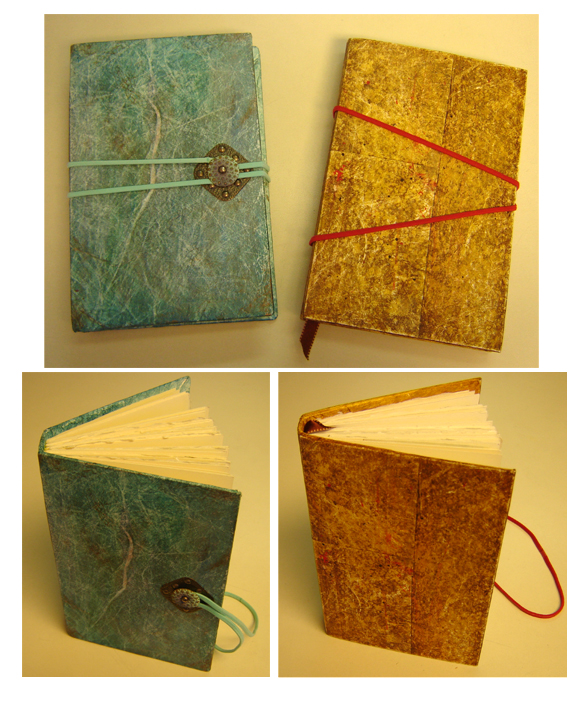 5. Make your own sketchbooks from leftover paper. There are many online resources ; sketchbooks can be made any size, and from almost anything. I had about 30 pieces of light-weight watercolor spiral bound for less than $2.00 and created a unique and portable sketchbook that was a joy to use. An online resource I came across recently used duct tape instead of stitching or binding. I’ve also hand-sewn bindings, using materials I already had at home (see journals at right). I used carpet thread and an embroidery needle for stitching, leftover beeswax chunks to wax the thread, a butter knife handle as a bone folder, duct tape for book cloth, thin cardboard for the spine, front and back covers, white household glue for the covers, an old Tyvek envelope to cover the outside, ribbon scraps for bookmarks, and leftover colored paper for the end papers.
6. Investigate other art forms. Have you thought about creating small pieces, such as ATC’s (artists trading cards)? Collage is a great way to explore dimension and texture, and lends itself to found materials readily – so do altered art forms. There are hundreds of online resources on altered books and journals, and repurposed clothing and accessories. Consider printmaking techniques such as leaf monotypes, or printing with leaves, gelatin, or fish.
7. Let accidents happen. I learned this one great thing from a fellow artist – if you make a mistake in your journal or sketchbook, don’t throw that page away. Make it into something else or cover it up with a square of paper and continue drawing or painting. Let an accidental splotch or puddle lead you into a new area of exploration, you have nothing to lose! Learning to utilize “happy accidents” loosens us up and expands our vision as well as saving paper.
You can click on each image to view it larger on my Flickr photostream.


